When Vercel announced at Ship that the Next.js 13 App Router was stable(在新标签页中打开) (opens in a new tab), it put many Next.js developers in an awkward position. New projects would use the App Router by default, so we had to learn a new Next.js architecture.
To me, calling the App Router "stable" at that point was a mirage. It still had too many bugs and too many gaps in compatibility and extensibility.
Moving from the Pages directory to the App directory is hard, especially in a large codebase. RSCs (React Server Components) do not suit every project, and the wider shift turns work we once called "frontend" into full-stack development.
These changes will confuse frontend developers who have little backend experience. I plan to write more tutorials and guides about the Next.js App Router.
All right, that's enough rambling about Next.js. Let's get to the main event.
Most people add RSS to a website so readers can subscribe to their blog posts.
Adding an RSS feed to a Next.js site is simple. Let's get started!
Install the dependencies
First, install the rss package. It will generate the RSS XML for us. Add it to your Next.js project with npm, yarn, or pnpm:
Why did we choose rss?
I ran into problems with feed(在新标签页中打开) (opens in a new tab) and found rss easier to use 😂. (For example, iOS Safari may append a .rss suffix when you visit an RSS URL. That stops iOS from recognizing the link globally and opening a compatible reader for you to subscribe.)
In short, I recommend rss instead of feed.
Now we can build the feed.
Define the API route
First, choose a URL for the RSS feed. Common paths include:
-
/feed -
/feed.xml -
/rss -
/rss.xml
If you are like me, you will want to support all four.
We can do that with Next.js Rewrites.
We still need one canonical entry point. Any option works; this tutorial uses the conventional /feed.xml.
Under the App Router, we do this with a Route Handler(在新标签页中打开) (opens in a new tab). A Route Handler defines how an endpoint responds to GET/POST/PATCH/DELETE requests.
Next.js Route Handler example
A Route Handler does not have to live in an api folder. We want /feed.xml to return RSS XML, so a Static Route Handler(在新标签页中打开) (opens in a new tab) will do the job.
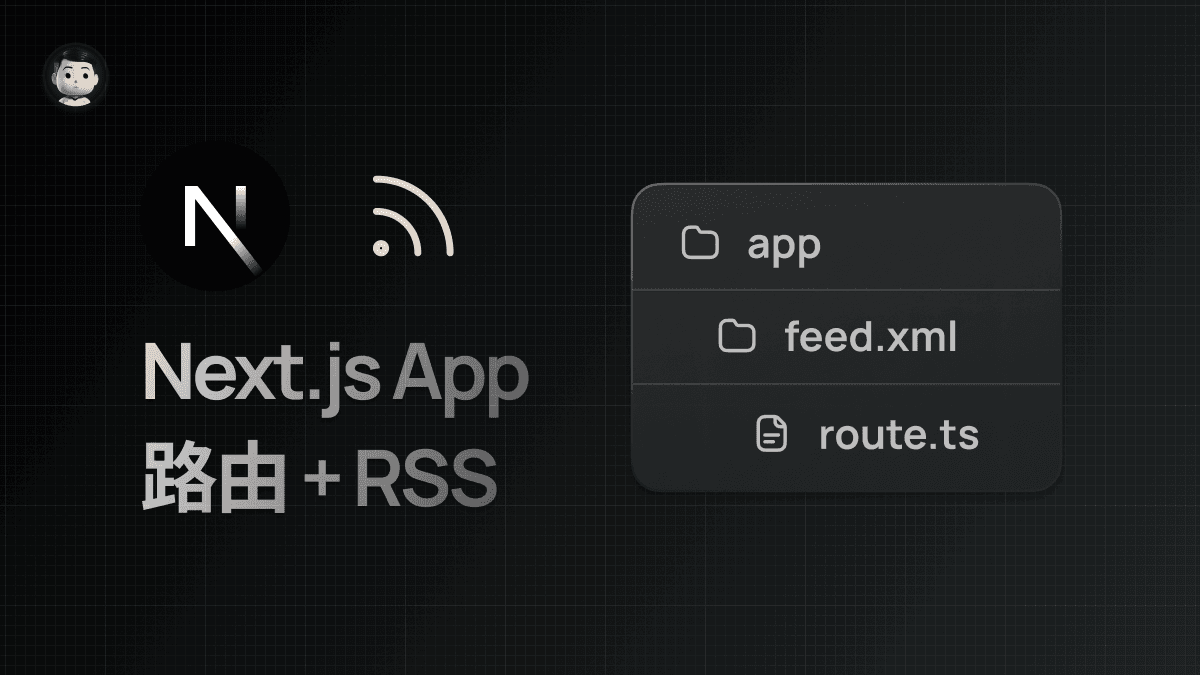
Create a folder named feed.xml inside the app directory. Yes, a folder name can look like a file extension. You could even make a route ending in .php and instantly make it look valuable. Your Lamborghini dream(在新标签页中打开) (opens in a new tab) will be within reach. Inside that folder, create route.ts:
That is the file structure we need.
The route now needs to fetch your article data, whether it lives in a database or a CMS.
I cannot know where your data comes from, so I will assume you have an async function named fetchData:
The feed is ready. Start Next.js locally with npm run dev, then open http://localhost:3000/feed.xml in your browser. You should see the XML.
Match multiple routes
Use Next.js Rewrites(在新标签页中打开) (opens in a new tab) to make /rss, /rss.xml, and /feed return the same XML:
The feed now works at all four addresses:
-
/feed -
/feed.xml -
/rss -
/rss.xml
A handy tip
Most browsers support RSS Autodiscovery. To add it to our site, put this in the HTML <head>: <link rel="alternate" type="application/rss+xml" title="RSS Feed" href="" />
With the App Router, Metadata(在新标签页中打开) (opens in a new tab) saves us from writing the <head> markup by hand:
The site now has a working RSS feed with autodiscovery.
Recap
Here is what we did:
-
We used a Static Route Handler(在新标签页中打开) (opens in a new tab) to generate a static
/feed.xml; -
We used Rewrites(在新标签页中打开) (opens in a new tab) to map multiple routes to the same destination;
-
We used Metadata(在新标签页中打开) (opens in a new tab) to add RSS Autodiscovery to the website;
Finally, here is how the feed looked when I added it to Feedly(在新标签页中打开) (opens in a new tab):
The result after adding the feed in Feedly
Enjoy, have fun!